
This document smears HP DeskJet 3720, 3721 3720, 3722, 3730 3737, 3732, 3733, 3735 3750 3755, 3752, and 3758. 3760, 3762, and 3772. DeskJet Ink Advantage 3775, 3776, and 3778. 3785, 3786 3887, 3788, 3789, and 3790 All-in-One printers.
To set up a printer for the first time, take the printer as well as all wrapping resources from the box then, assign the power cord, connect the containers for ink, then load paper into the tray for input Download and install the software for printing, and bring into line the cartridges with ink.
Step 1. Remove the printer from the case
The contents could vary based on the district or country. Look at the box for the list of items that are crammed inside the box.
Take the printer from the box and also eliminate the paper wrap from the printer.
1) Take the printer out of the box.
2) Take the plastic wrap off the printer.
3) Recycle the packaging materials.
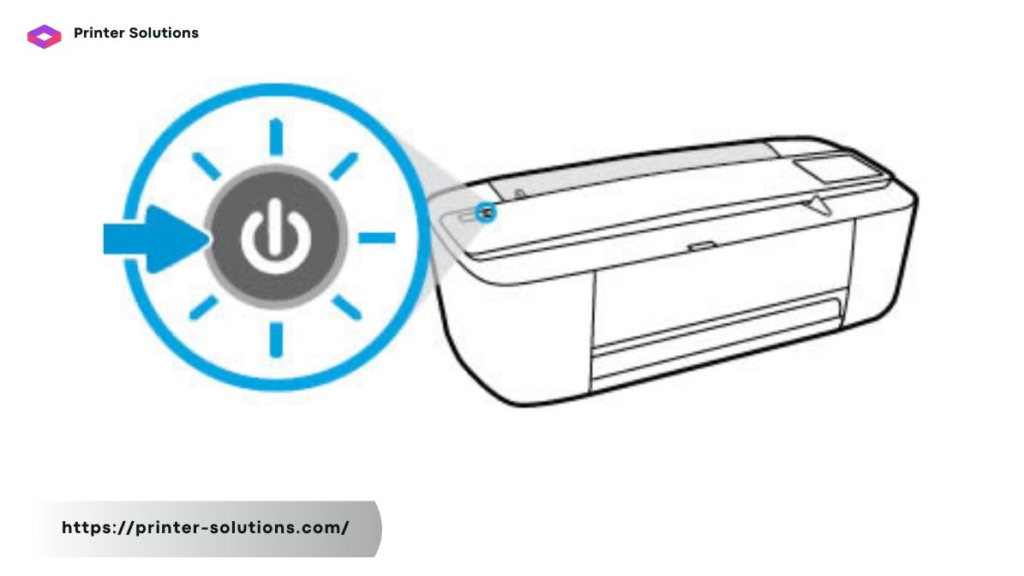
Step 2. Make sure you connect the power cable
Connect the printer to an outlet on the wall, and turn the printer on.
NOTE: You should not use a USB cable at this point. The linking to your computer is made when you connect the software.
- The power cord should be associated with the back of the printer; attach the other end of the cord to an opening.

- The printer must be turned on.
Step 3. Install the cartridges for ink
Make sure you install one of the HP ink cartridges comprised in the package with the printer.
- Contact the ink cartridge door.
The carriage is moved toward the center of the print.

- Make sure that the automobile is noiseless and idle before ongoing.
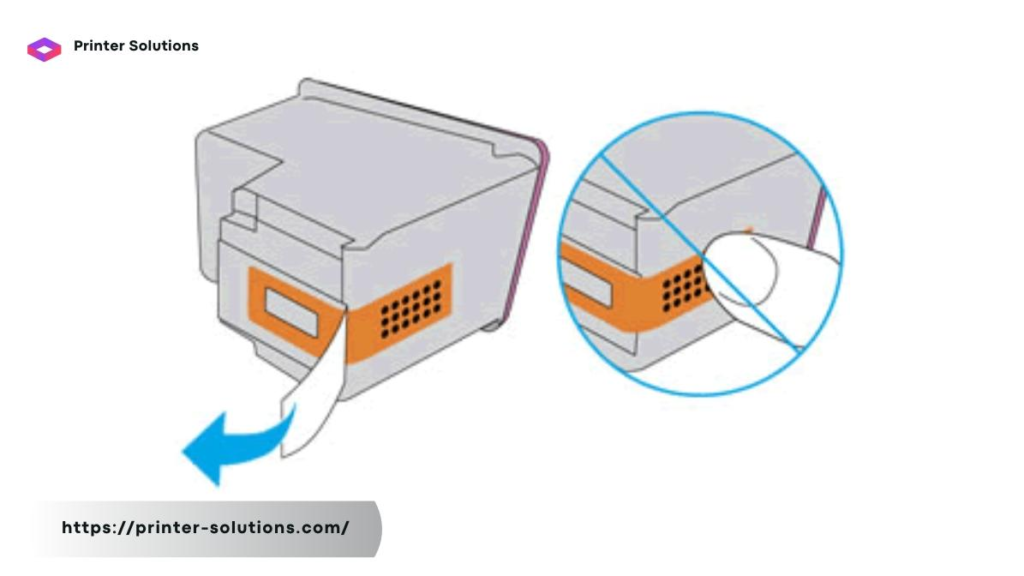
- Take the ink container from the packaging. Be sure not to contact the black plastic that is on the container.
- Eliminate the tape that is devoted to the cartridge of ink.
CAUTION: Don’t get your hands on the copper-colored contacts and the ink spray spouts. Don’t substitute the defensive tape casing the contacts. Treating these parts could cause clogs, failure of ink, and injured electrical connections.
Keep the cartridge on its sides with its contacts facing the printer. Place the container in its slot; then, moderately press the cartridge to guarantee it locks into the situation.
NOTE: Install the color container to the left and the black holder to the center.
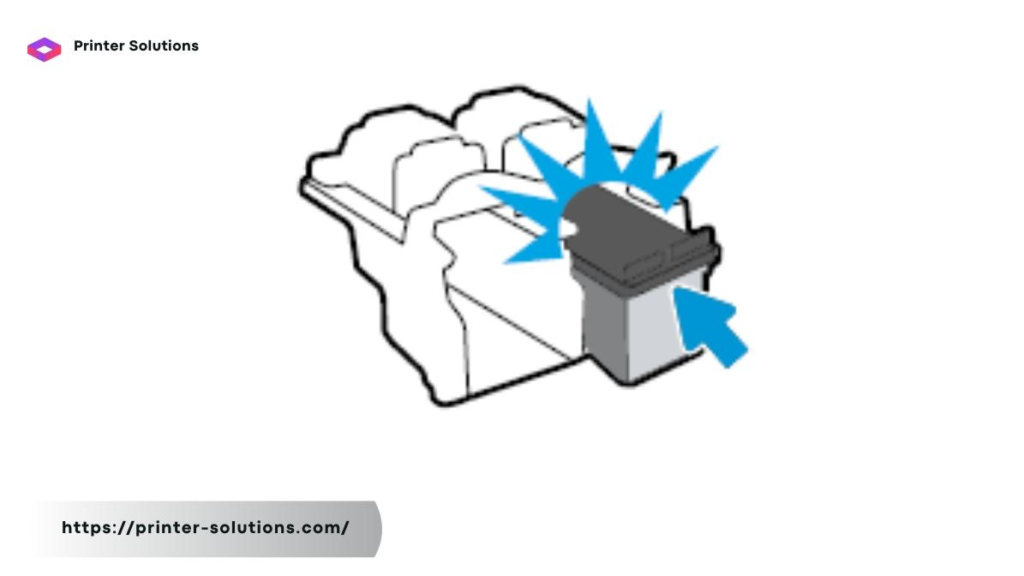
- Repeat the steps for the second ink cartridge.
6. Close the admittance to the ink cartridge door.

- The printer pledges with a starting process. The normal thing is for printers to produce a sound throughout this time.
4. Insert ordinary paper onto the tray.
Load a simple U.S. letter or A4 paper into the tray for input.
1. Lift the tray for input and spread the tray for input.
- Take the contribution tray shield back, and then hold it. Slide the director to the paper width to the left, then remove the shield that defends the input tray.
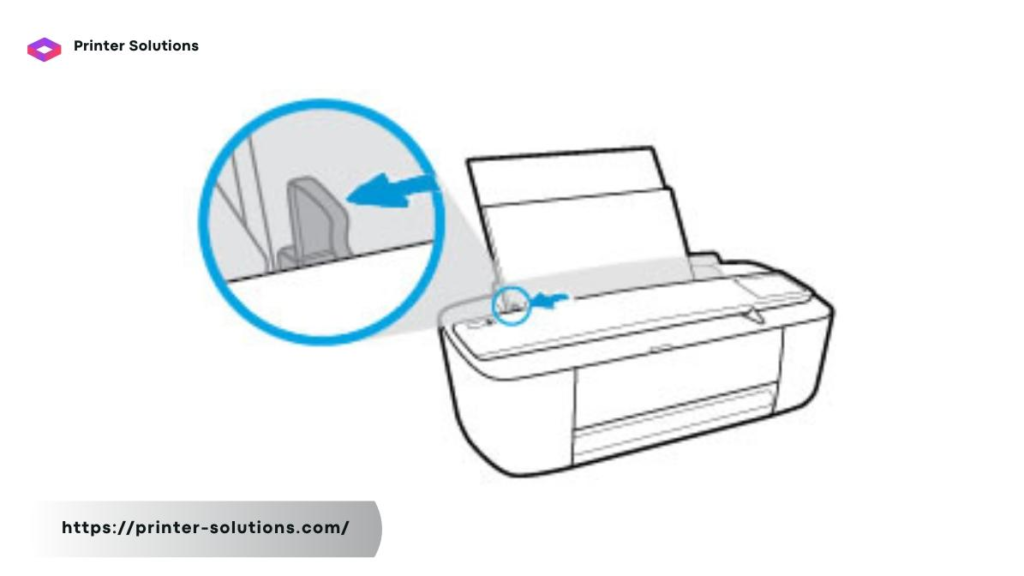
- Up at 60 sheets of plain white paper into the tray for input. Then, slide the paper stack down until it comes to a stop.
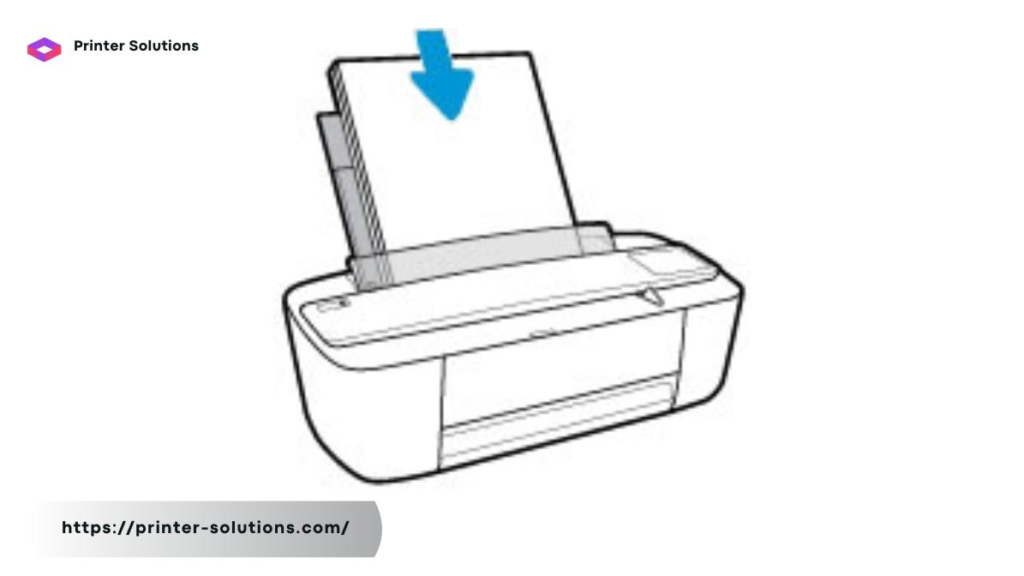
- Take the shield of the input tray back, and then hold it. Move the guide for paper width to the left until it reaches an edge on the paper, then eliminate the shield that defends the input tray.

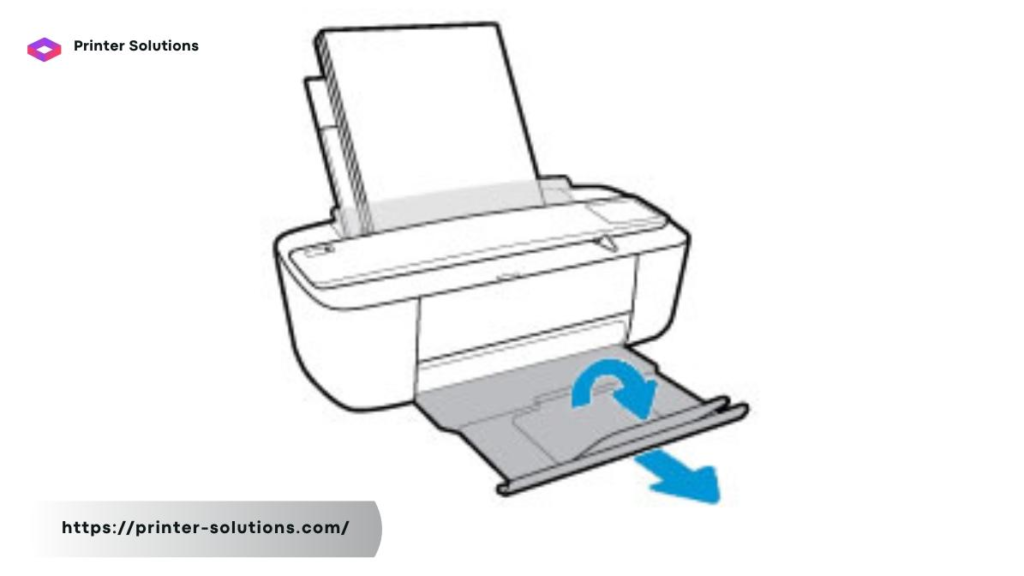
- Take out the output tray and the extender for the output tray, and then increase the paper catch.
NOTE: After you have laden the paper, select the correct size and the suitable paper type when making replicas or printing.
Step 5 Install the software for printing.
It is now time to attach your HP printing hardware installed, and you will be able to install the software for printing. Only effort connecting the device to the computer once you have been coached to do so by the software for printing.
Download the most current version of the software for printing on the HP site.
NOTE: To guarantee print excellence, The printing machine prints an aligned sheet after five printed pages. Follow the steps on the bring into line page to finish the arrangement of the ink container.